
Concrete Slab Foundation; What are the Steps and Cost?
If this morning you woke up, rubbed the sleep out of your eyes, and thought to yourself “Self, you know what you should learn more about today? Foundations!” …..then holy crap do I have some amazing news for you. Today your knowledge-craving dreams are coming true and you get to fill your brain full of information about pouring a residential post-tension concrete foundation on a sloped lot in South Central Texas. That’s right…life is good and dreams do come true. Woohoo!
So let’s jump right in and address what I believe are the two big questions when it comes to a foundation…what are the steps and how much does it cost?
How much does a concrete foundation cost?
Let me just start off by saying this. It is a terrible time to be building a house. Like, really terrible. Material prices are through the roof as are labor prices, everything seems to be back-ordered for months and months…not to mention I just locked in my interest rate at 6.00%. Six freaking percent!
Let me give you an example of how expensive things have gotten. In 2015 the foundation to my previous home was poured (this one). The slab for that house was very large and included the house, all the porches, the breezeway, and the four-car garage/workshop. Altogether the foundation was 4,640 square feet, and the cost for that foundation was $35,000. (You can read the post and see pictures of that foundation here.)
Now, in 2022, I’m building this house, which is much smaller. The total foundation square footage, including the porches and garage, is 2,603. The cost for this foundation was $47,000.
Let’s do some super fun math.
$35,000/4,640 = $7.50 per square foot of concrete is 2015
$47,000/2,603 = $18.00 per square foot of concrete in 2022 (granted this one is tall, so that adds cost)
So, in 7 years the price has doubled. I know that doesn’t surprise anyone, because gas and grocery prices are also skyrocketing, but good grief. Let’s play a fun game and all guess what hasn’t doubled. Incomes. Anyway…I digress.
Let’s take a quick break and enjoy a fun little foundation pouring video montage.
What are the steps to pouring a concrete slab?
Here are the steps for pouring my post-tension concrete foundation –
- clear the lot
- envelope survey
- lot cut (if necessary)
- set forms
- form survey
- plumbing
- bagging
- headers (drops for showers, porches, etc)
- reinforcing steel and post-tension cables
- water lines and slab electrical
- final inspected
- concrete pour and finishing
- remove forms and tighten and cut tension cables
These are the steps for my house in South Central Texas, obviously they will vary by geographical area because of different terrain, codes, etc.
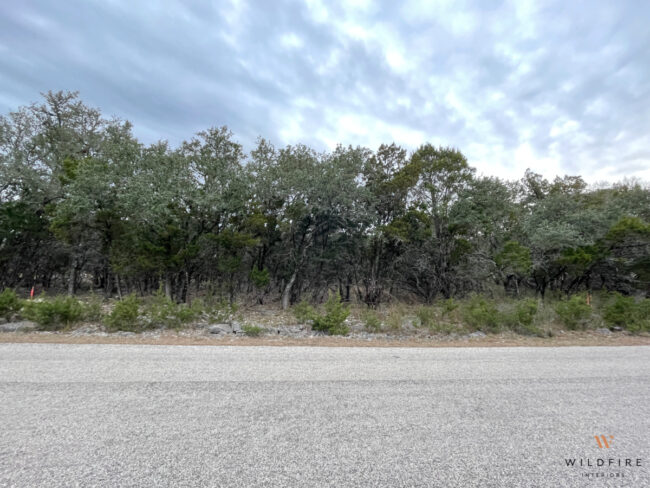
1. Clearing –
Clearing my half-acre lot took a day and cost $3,600 (which is NOT included in my 47K foundation cost).
Before –
After –
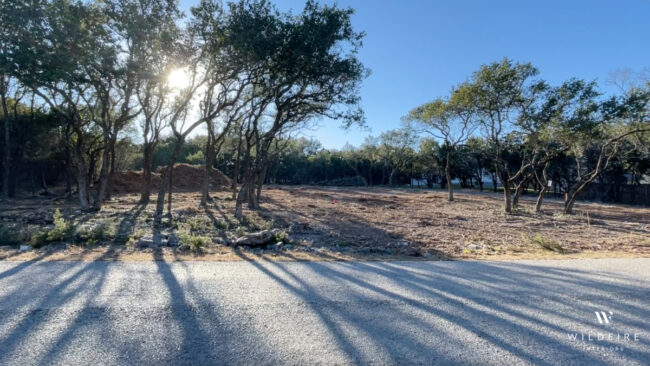

Everything on the lot that isn’t an oak tree was cleared out (so, cedar..aka pesky garbage trees). They were literally just ripped out of the ground by a bobcat and then turned into mulch by the thing below (which my five-year-old son loved).

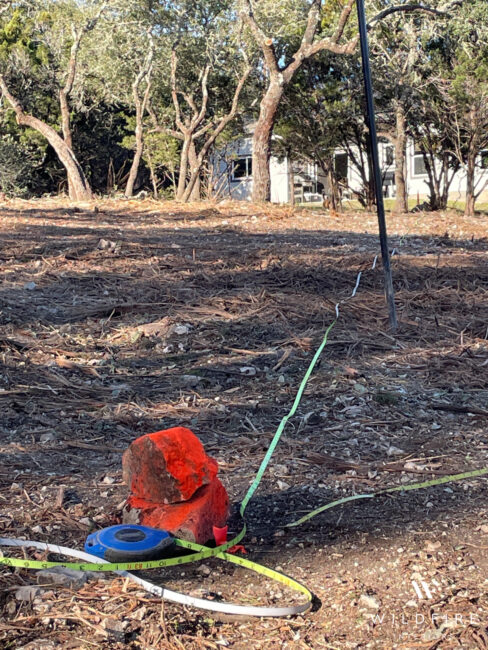
2. Envelope survey –
The surveyor does this, and it involves placing the corners of the house on the lot to ensure it is within the property’s setbacks. For example, most neighborhoods will say that a home needs to be 10 feet from the property line on the sides and 30 ft from the line on the front, or something like that. The envelope survey makes sure these rules are being followed. Also, gives the form-setting crew a starting spot.
3. Lot cut –
This was necessary on my lot, but won’t be on most. My lot is sloped and the garage is dropped by four feet, so the back of the garage needed to be dug into the hill. Where I live, the ground is comprised of solid limestone with a dusting of dirt on top, so this required a couple of days of chipping. The cost was $3000 (also not included in the foundation cost).

4. Set forms –
The forms are simply plywood sheets that outline the footprint of the house. They hold the concrete in place while it dries and are then removed and reused for the next job.
5. Form survey –
Yet another survey to make sure everything is in the right place before you move on to the next step.
6. Plumbing –
Basements aren’t a thing in Texas (see rock chipping photo above) and the plumbing is set directly into the concrete foundation. This means that you better get it right the first time, because if you have to change it or repair it, you literally have to chip out the concrete foundation to fix it.
I don’t have a good picture of this step for this house, but here is the plumbing laid out on my last house.

The foundation on my current house had to be partially bagged first (step 7) because of how tall it is, but you can see the white PVC plumbing pipes in the photo below.

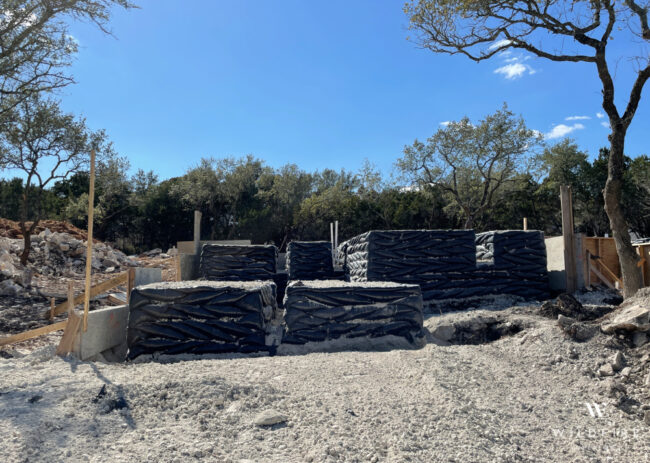
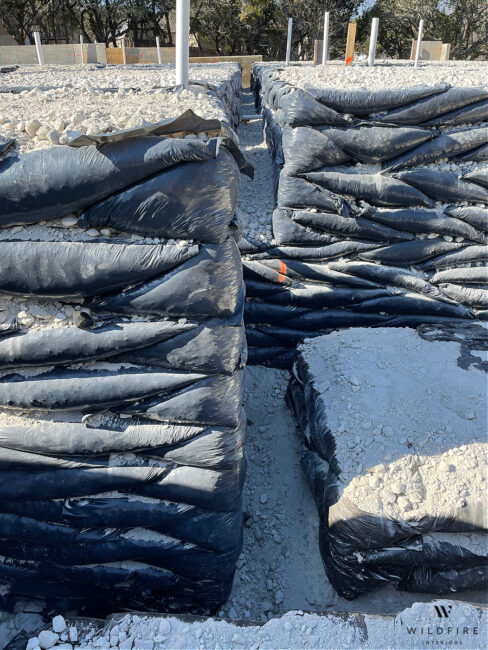
7. Bagging –
You may think that a concrete foundation is just a solid chunk of concrete, but that is far from true. After the forms are set and given the thumbs up, bagging begins.
Bagging is the process of filling black plastic bags with gravel, piling them up into a grid formation across the entire foundation, then filling those squares outlines with gravel as well. Between the squares and around the perimeter of the foundation is left empty and will be filled with solid concrete. These are called footers. Then on top of the gravel bags is a solid four-inch layer of solid concrete.

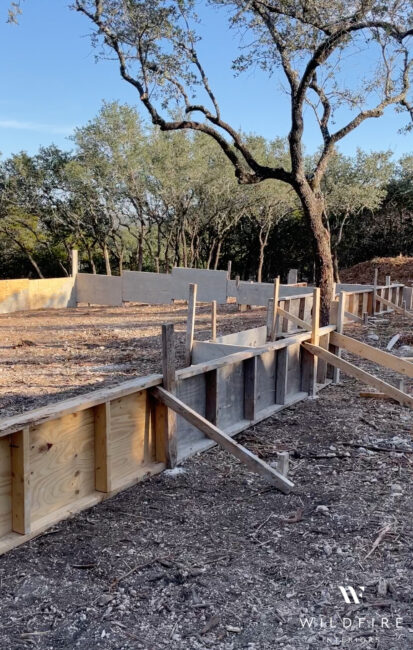
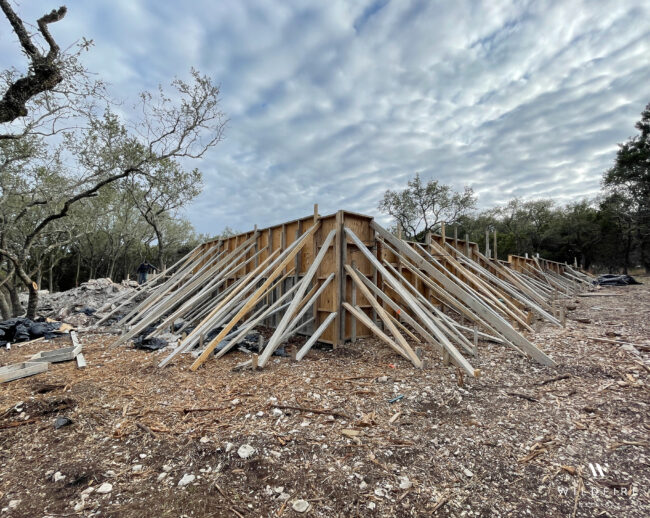
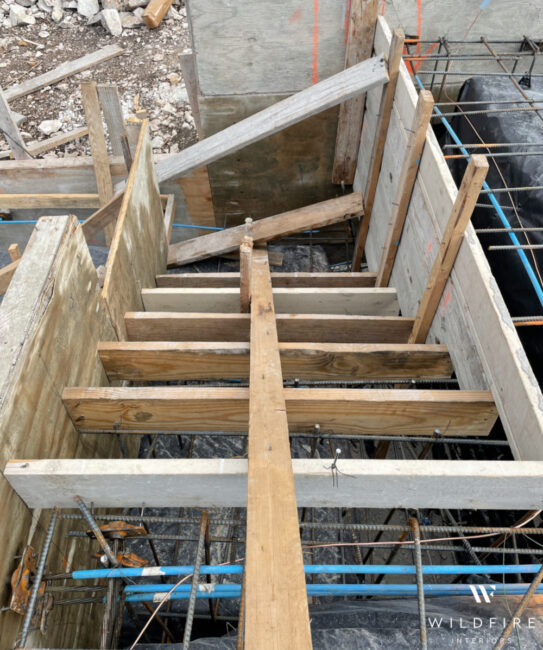
8. Headers and form completion –
Headers are 2×4 pieces that outline dropped areas of the foundation, such as porches, showers, and garages. These areas need to be a few inches lower than the rest of the foundation in order to keep water out of the house. Below you can see these headers around my shower area. Also at this stage, the forms are closed up to be ready for the pour.
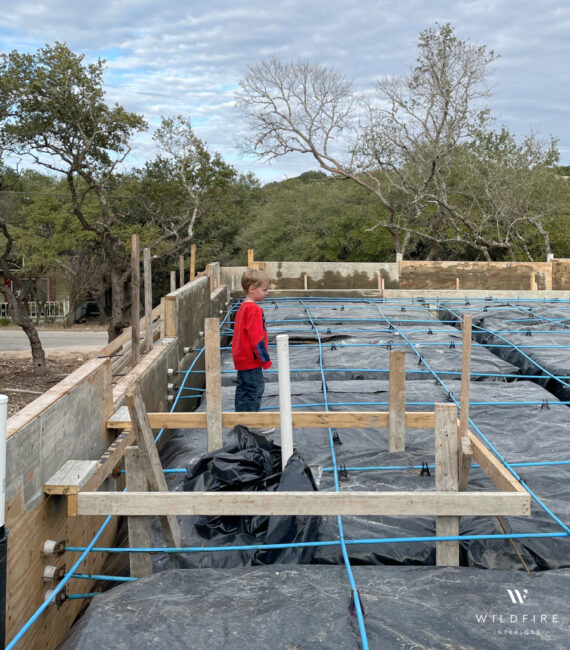
9. Reinforcing steel and post-tension cables –
The default type of slab in my area is a post-tension slab. This means that cables are laid across the foundation in a grid pattern, all the way through, and then a metal bracket is added to the exterior ends. After the foundation is dry, the cables are tightened and then cut off the exterior of the foundation. These cables reinforce the concrete, and can be retightened at any time if needed. Traditional steel (rebar) is still used in some areas (like my garage steps, pictured below), but overall are replaced by cables.


10. Water lines and slab electrical –
Once again, in Texas all the goodies are in the concrete. If you have things like floor outlets in your house, they are added at this point. Also, if you have a sink in a kitchen island this is added now, since you can’t get to it from the wall like other plumbing.
11. Final inspection –
So many inspections. This one is done by the engineers that drew up the slab plans.

12. Pour and finish concrete –
This is the big climax of this whole endeavor, and it’s also the quickest. Filling the forms with concrete takes a couple of hours, smoothing it all out takes a few more, and by the end of the day the foundation is dry enough to walk on.


13. Remove forms and tighten cables –
A couple of days later the forms are removed, the post tension cables are tightened and cut, and you are left staring at visual representation of what was once your savings account.


And that’s it….did you have any idea so much went into a chunk of concrete?
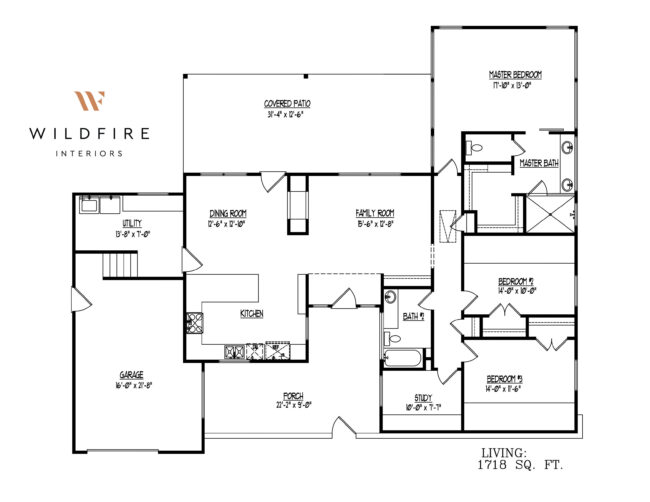
I realize a house tour isn’t much of a house tour when it doesn’t even have walls, but I did one anyway. Here is the floorplan so you have some idea of what you are looking at, and here is a quick two-minute video of the final slab for your viewing pleasure –
You may also like –
I had no idea a slab foundation would be so intricate! Or expensive! LOL. That was fascinating!
I can’t wait to see the progress you continue to make. :)
Great post; thank you for sharing and providing such great explanations! I love learning about the details that go into building a house (I am in Houston, and, obviously, no basement, concrete slab, as well). I am guessing your slab was poured several months ago based on the jackets and coats worn in one of the pics — cuz it ain’t cold weather now!! :) Can’t wait to see the progress in your next post. I am very excited for you and admire what you have–and are– accomplishing. Fantastic job!
Thank you! And you’re correct, it was poured earlier this year…if it was poured now these photos would be of me in sweat-soaked sundresses 🥵
Looks good so far. Can’t wait to see more as you move forward!
Enjoyable read. Humorous yet informative descriptions of an unglamorous but extremely important step in house building.
Too bad no basement possible. I love basements.
I can’t wait to see the progress as you go! I’m so excited for you.
Can’t wait for more updates on your progress, its going to be amazing. Congratulations on all that your doing!
Thank you!
Coming from MN, land of 10,000 basements, this was really interesting. The whole bagging thing, what a crap ton of labor, yikes. Question, why did you make the slab so thick? It seems like it probably added a lot to the cost since it needed more forms, bags, gravel, etc. Especially since you already took the uneven terrain into account with your house design. Thanks for the update.
The slab is as thin as it could possibly be. Foundations need to be a minimum of 8 inches above the ground to keep water out. The front of my foundation is like 7.5 feet high, but the back is the minimum of 8 inches. I know, it hurts…so many other things I’d like to spend my money on, but it is what it is.
Thanks for the explanation. Looking forward to your next post. Hope the build is progressing for you.
Congratulations on getting started. I can’t wait to see pictures of the progress. Love your informative posts.
Wow! I kept googling your name, randomly trying to find out. Hoping maybe one day I would find your content. I’m fixing to buy land near Hunt and I was like let me Google “domestic imperfection” and boom! 😌happy to find you again loved the floor plan.
Wow, thanks for the detailed blog post. This cleared so many questions for me. I was thinking the concrete slab is a big block of concrete, do not know of bagging.
May I know the builder that you have used ? I’m planning to build a home near Leander,TX
I used a small local builder, Leander is too far for them. I would ask around your area for recommendations, that’s the best way to find someone. Sorry I can’t be more help!