
Everything I Learned Installing Peel-and-Stick Wallpaper
What went Right, What WENT Wrong, and What you need to Know to Be successful

Do you want to add wallpaper to your space, but are a bit intimidated to do it yourself?
Good news…you’re normal. I’ve been writing about DIY for 13 years now, but I have never ventured into the world of peel-and-stick wallpaper. Nevertheless, for my first attempt, I managed to install it in an entire room (with tall ceilings!), survive, and be pretty dang proud of the results.
I’m here to share what I learned, and hope to make your project easier and your walls prettier.
Supplies Needed
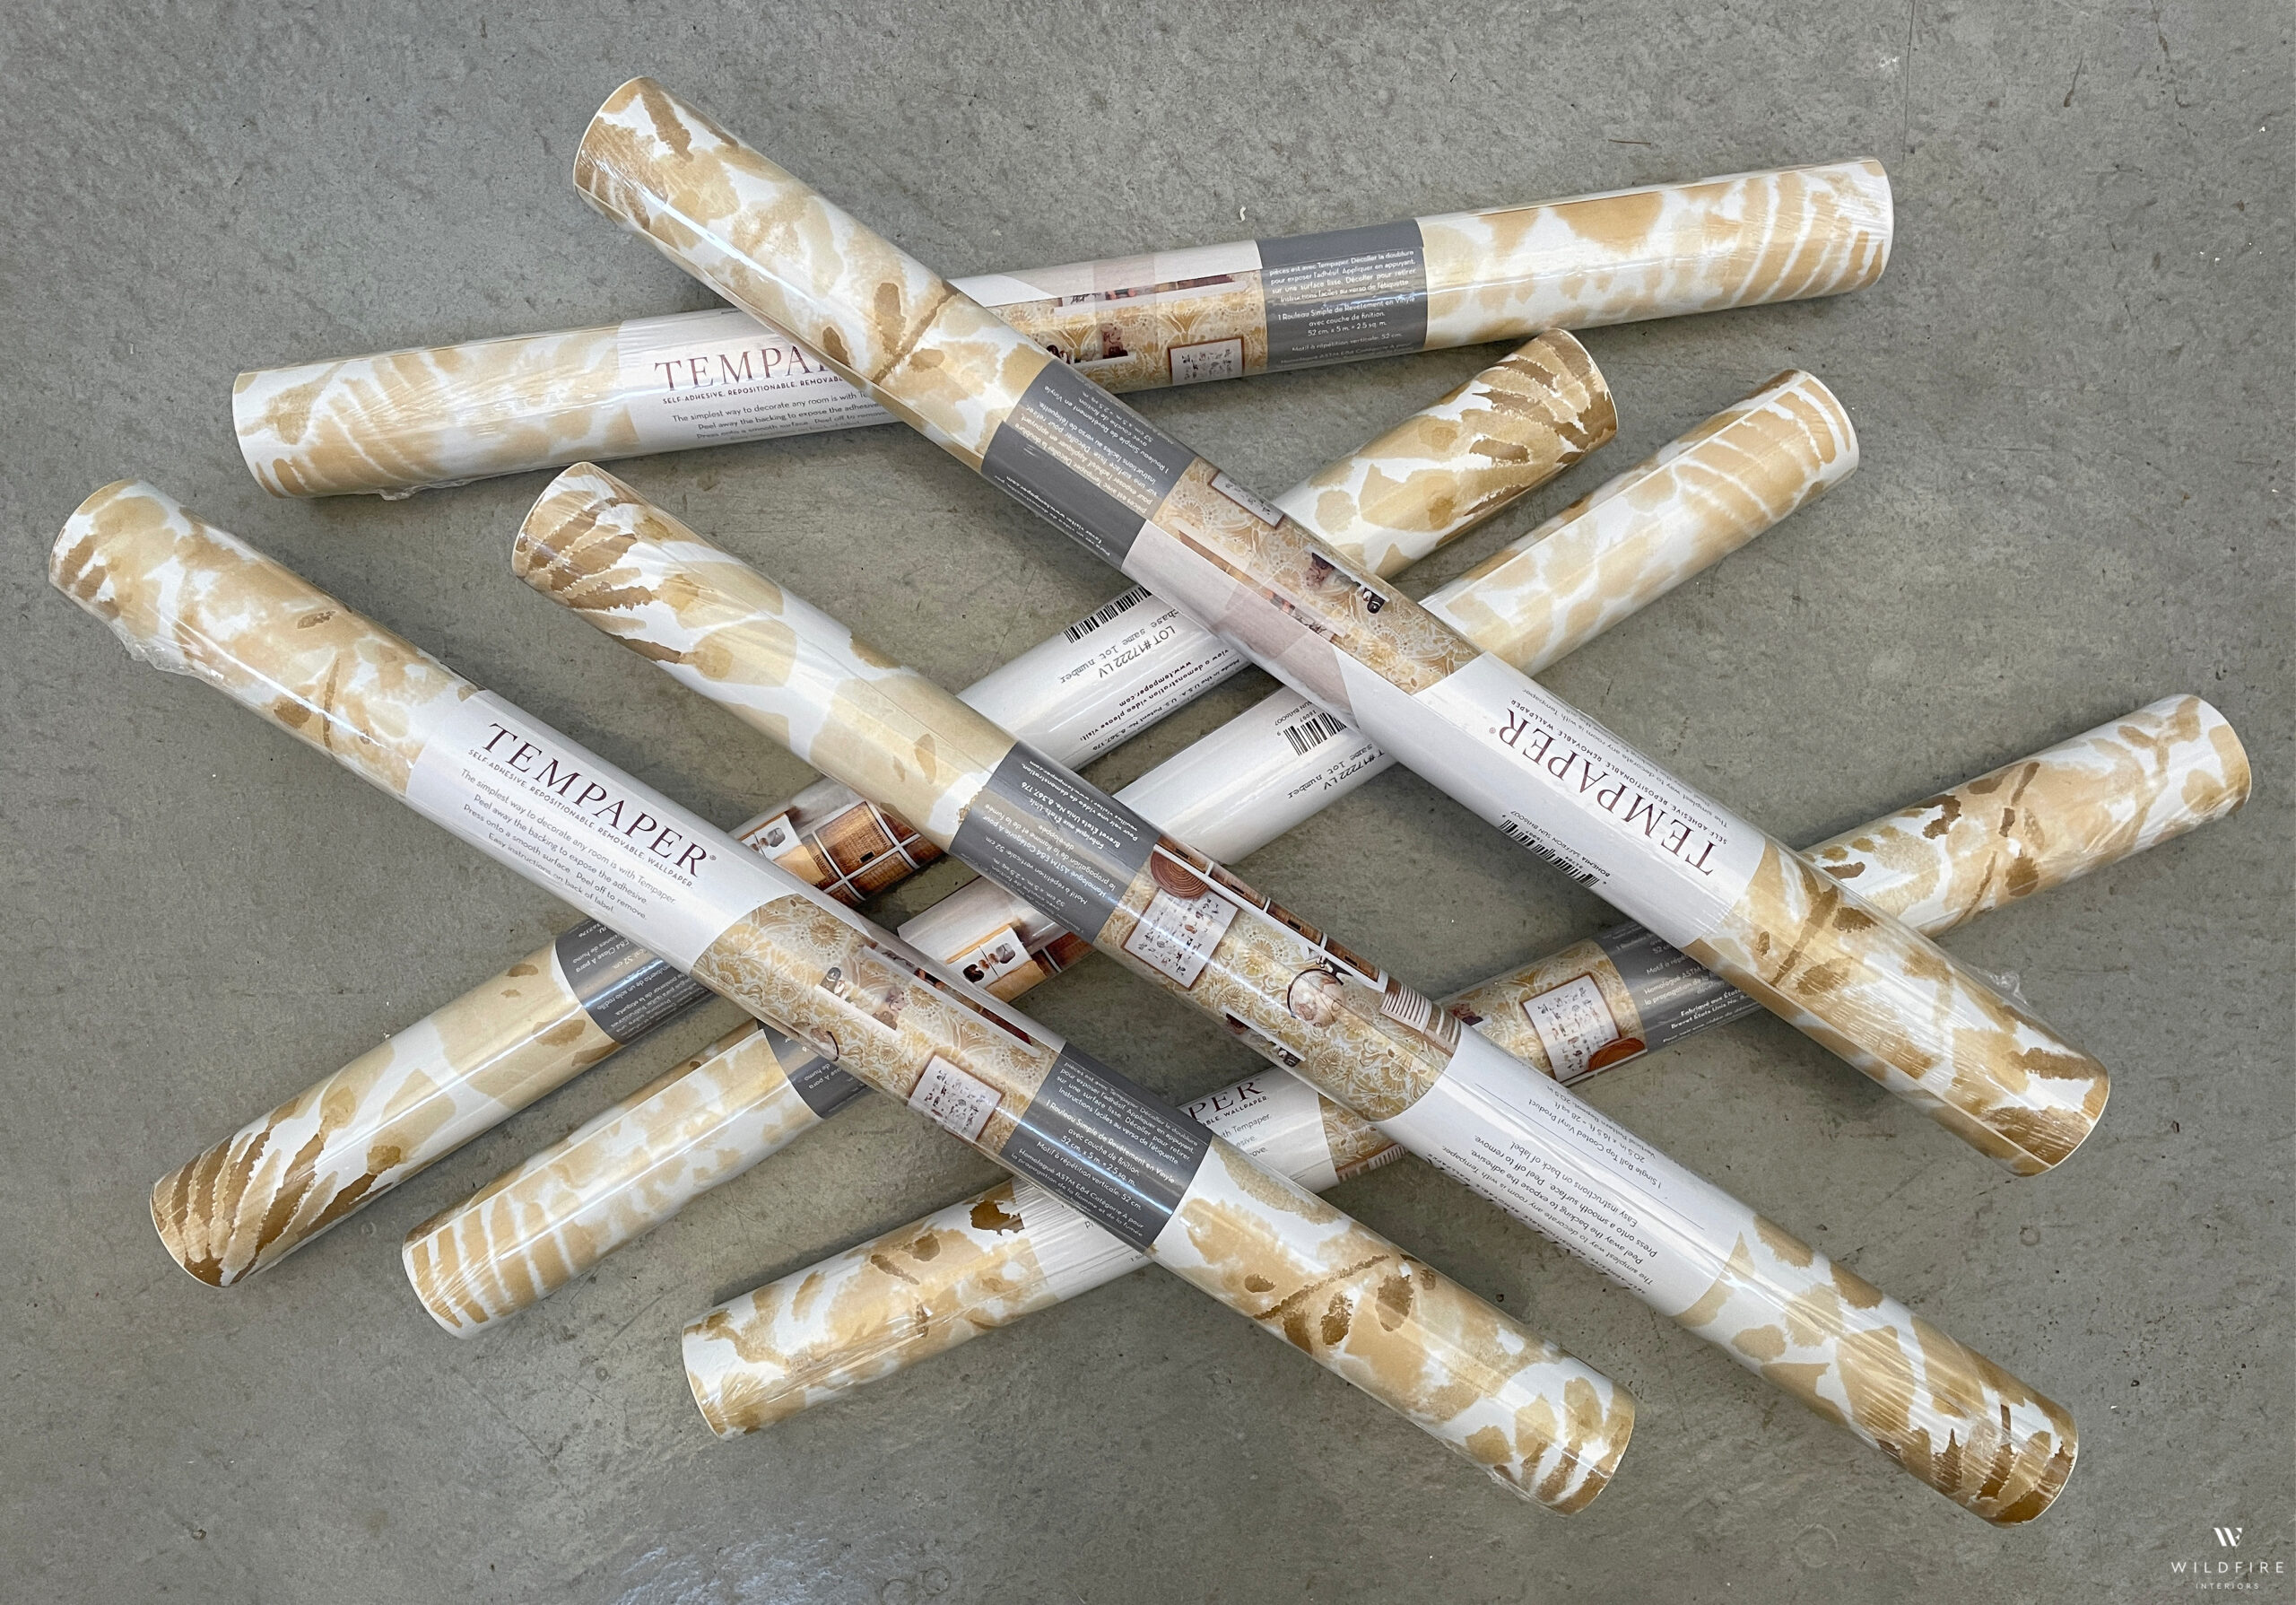
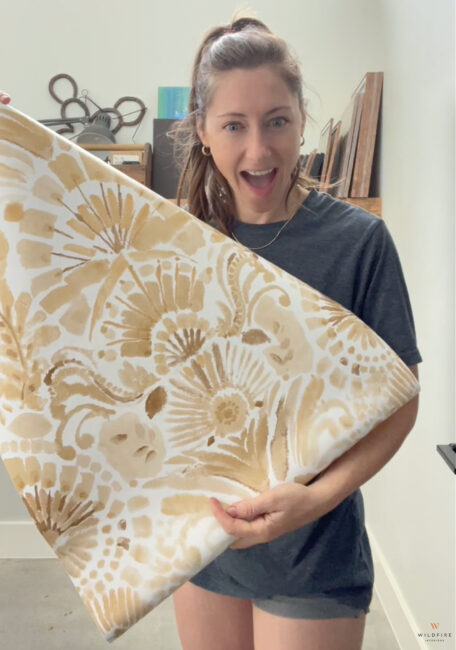
- Peel and stick wallpaper: I used Saffron Sun Bohemia by Tempaper, which you can buy on Amazon or Home Depot.
- Wallpaper kit: I started out thinking I didn’t need this, but I immediately bought it after my first strip of wallpaper. These kits are super cheap on Amazon and an absolute must-have.
- Xacto knife or sharp boxcutter: Most wallpaper kits will include this, but if they don’t, buy one.
- Level: The longer, the better. I used a 6-foot level since I was doing 16-foot walls.
- Two people: If you are doing a small area, you can do this yourself with the help of some painter’s tape. If you are doing a whole wall or more, you are going to need a helper.
- Sandpaper: Use 150 or 200 grit to smooth wall imperfections before starting.
- Dry rag: Old t-shirt, dish towel, whatever…just something to clean up dust on the wall.
- Scissors
- Tape Measure
- Pencil
- Painters tape
Before You Get Started
Before you can start wallpapering, you are going to need to purchase the correct amount of wallpaper. I’ve written a separate post on how to do this, which will tell you exactly how many rolls you need to buy (not just the square footage).
Read it – How Much Wallpaper Do I Need?
It’s also worth noting that wallpapers with a busy, abstract, or free-flowing design are more forgiving than ones with a strict geometric pattern. Be thoughtful of this when choosing wallpaper, especially if it is your first time.
How to Hang Peel and Stick Wallpaper
With the right prep, tools, and a dedicated helper, this project is very doable!
Step 1: Prep your Walls
You need to start with clean and dry walls. Also, any imperfections on your wall will show through, so you need to sand them down. To do this, hit them with a piece of 150 or 200 grit sandpaper. When you have smoothed over all your problem areas, remove the dust on you walls with a lint-free rag.
FAQ – Can I install wallpaper on a textured wall? The answer is…maybe, it depends on what brand you use. Click on the link below to see which brands work on textured walls and which ones don’t.
BEST PEEL-AND-STICK WALLPAPERS FOR TEXTURED WALLS
Step 2: Prep for your First Strip of Wallpaper
The first piece of wallpaper sets the tone for this whole project, so you need to take your time and get it right. Installing it perfectly square is the goal, anything less will make this project very frustrating. Here are two things you need to know to start off on the right foot.
- Plan to start your wallpaper in a corner
- Do not trust that the corner is square, and do not use it as a guide
Since corners are not square, you can’t just line up the edge of your wallpaper in the corner and call it good. Instead, you need to mark a perfectly vertical line for the outer edge of your wallpaper strip and work your way into the corner.
- Use a tape measure to mark one inche less than your wallpaper width out from the corner. Example, if your paper is 20 inches wide, mark it at 19 inches.
- Next, use your level to draw a light vertical pencil line from the floor to the ceiling.
- This line is where you will put the outer edge of your wallpaper.
- Then work your way down the first wallpaper strip, working it into the corner and wrapping the last inch of wallpaper onto the neighboring wall.

Step 3: Install your Wallpaper
After the first piece is installed, you are just going to work your way around the room. Here is how to do it.
- Measure how long the strip will need to be to cover the whole wall, ceiling to floor. Add 4-6 inches and cut.

2. Leaving the backing on, hold your strip up to the wall and get it into position. To keep it in place use painters tape, another set of hands, or both.
3. Leave a couple extra inches extra at the ceiling. Just like corners, ceilings are not square. You will cut off the extra paper later.
4. Plan to overlap your wallpaper edge over the previous strip. Your pattern will determine the overlap, but it should be around 1/2 to 1/8 of an inch.
5. Once you have your piece lined up where you want it, pull about 12 inches of the backing off at a time, working your way down the wall.
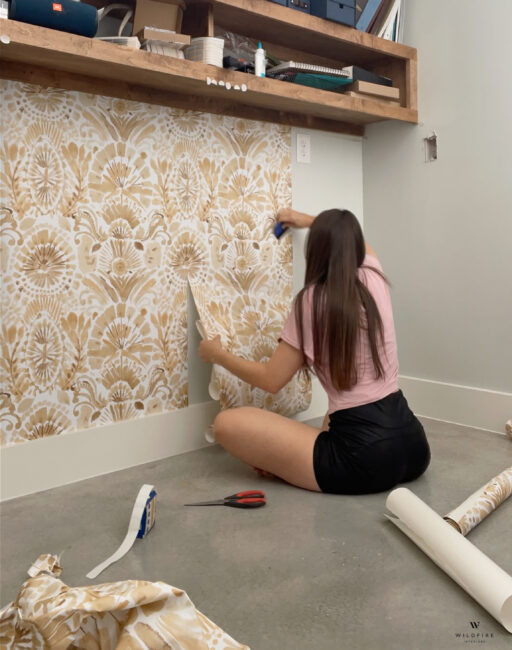
6. It is best to work from the center and out to the edges in order to remove bubbles. Use the tools from your wallpaper kit, being careful not to scrape the design or rip the paper.
7. After the piece is fully installed, use a straight edge and your X-acto knife to cut off the excess at the ceiling and the floor.

Tip – When you are right up on the wallpaper, deep in installation and ready to be finished already, you are highly aware of every flaw and mistake. Take a moment to step back at least 6 feet and look at what you have done as a whole. I promise you will be pleasantly surprised. You are never going to see those mistakes, and are doing way better than you think you are. You don’t just have to take my word for it either…I have proof.
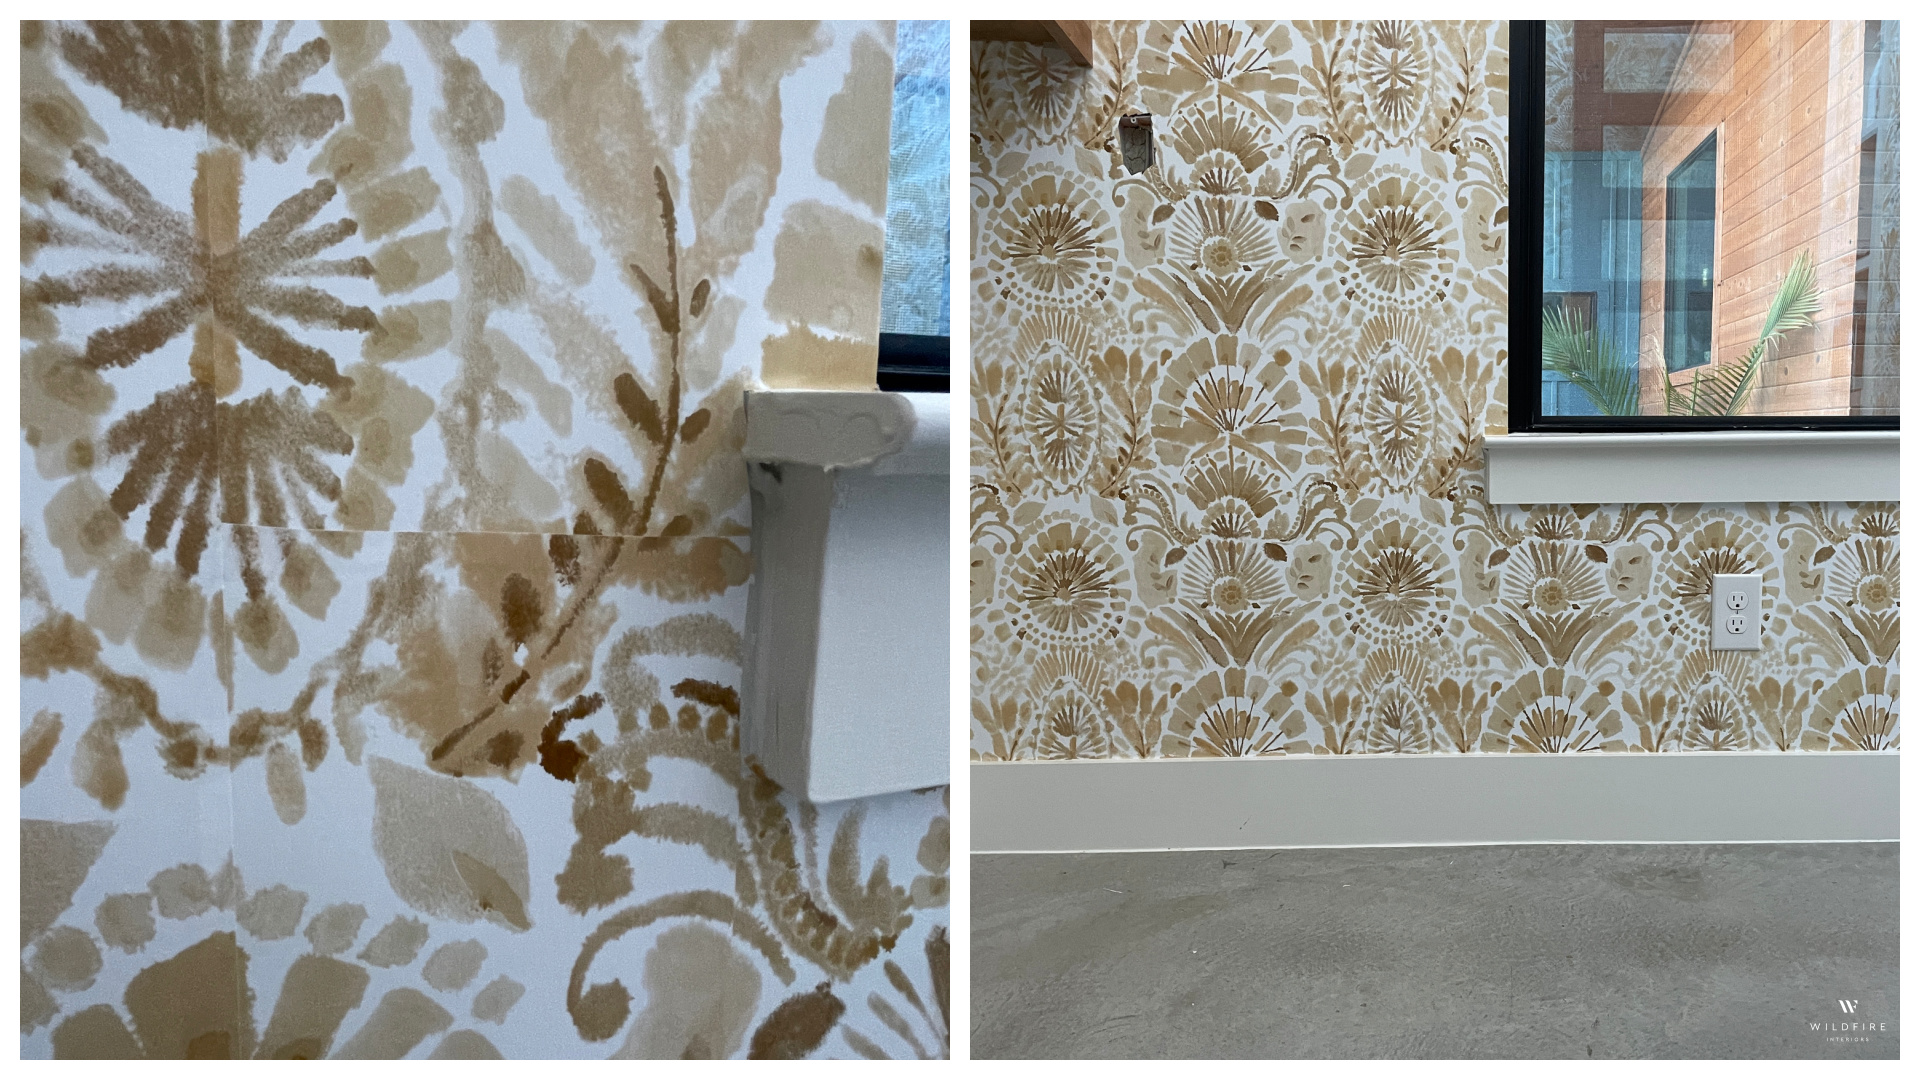
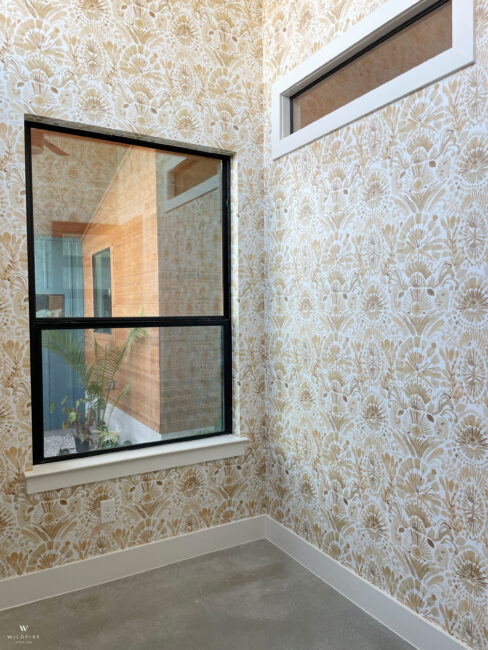
See that first image on the right? This is by far the worst spot in the room. It’s like every single tiny mistake we made compounded into one small area, and we were left with choosing big wrinkles or an ugly mismatched horizontal seam. It looks bad, there’s no way around it. BUT, if you back up just a few feet, you can’t see it. Even knowing it’s there, it disappears. Let this be an encouragement to you.
Wallpapering Around Obstacles
For cutting around switches, outlets, and vents –
- Turn off electrical power to the room
- Remove the cover with a screwdriver
- Hang the wallpaper strip over the outlet, switch, or vent hole
- Use your X-acto knife to carefully cut an “X” into the wallpaper directly over the obstacle
- Trim each of the flaps to line up with the edge of the drywall and smooth over the wallpaper
- Re-install the cover

For going around windows and doors –
Run your wallpaper up to the trim on your window or door, pressing it into the corner. Then, cut off the extra wallpaper using a straightedge. That’s it…it’s really easy (I found corners are much harder).
For windows with a drywall return (no trim) –
I did this, and it turned out well…but I’m not even going to try to explain it in text. Instead, I’m just going to send you the YouTube tutorial I used (click below).

Avoid These Mistakes
- If your peel-and-stick wallpaper is vinyl (most are), be careful about tugging on it because it will stretch. For example, on my first few strips of wallpaper, I was holding onto the edges very tightly, tugging a bit to keep everything straight and lined up. The wallpaper stretched where my fingers were, leading to wrinkles that couldn’t be worked out.
- The wallpaper I purchased and used was advertised as being removable. I sought out this feature on purpose, because what sounds better than being able to easily pull it down when you want to change up a room? Or pull a piece off when you mess up on installation? Well, removable it is not. Click here to see a video of me attempting to remove it.

So please test your chosen peel-and-stick wallpaper in an inconspicuous area first to make sure it won’t destroy your walls. I will likely have to replace all the drywall in this room if I ever decide to take the wallpaper down, I don’t want that to happen to you. I’ve heard my experience is not the norm, but better safe than sorry.
Final Thoughts
Overall, I’m really happy with how the wallpaper turned out, and if you are thinking of putting up some peel-and-stick wallpaper of your own, go for it!

If you are doing a small area with short strips (like the back of a kitchen island or the top few feet from a wall treatment to the ceiling), this project will be very quick and easy. If you are doing a bigger space with long strips (like I did here), then it will be more challenging. It’s still worth DIY-ing for sure; just make sure you have two people and a lot of patience.
For reference, this project took my husband and me a total of twelve hours (over the course of four days) to finish. The room we did is 10×7, with a ceiling height of roughly 15 feet. It also had lots of things to work around…two built-in shelves, three windows, and a doorway. Honestly, though, those obstacles were way easier to wallpaper around than it was to do the 15-foot-long single strips.

To get a peek behind the scenes, hit play on the video below.
To stay up to date on office remodel progress, go ahead and hit the follow button over on Instagram!
I think that about covers it! If you have any questions, please leave them in the comments. Also, if you have ever used peel-and-stick wallpaper, I would love to hear about your experience! Any tips I missed? Would you do it again?

I have not used peel-and-stick, but with regular wallpaper I learned that it comes off more cleanly if you put sealer on the walls first. That might help with the peel-and-stick also.
Love the pattern on the wallpaper. Your office is definitely transformed. Looking forward to seeing the finished product!
What an amazing wallpaper! I’ve been looking around for just the right wallpaper and haven’t quite found the right one, but yours will be it if I can find it on Amazon. You did such a great job installing it too. Thanks for the inspiration and helpful hints.
Thank you! I forgot to included a link to the paper…here it is on Amazon.
Hi Ashley, great article. If you or your readers ever want to remove the not-actually-removable wallpaper, you can have a plasterer (different trade than drywaller) apply a veneer coat of plaster to your wall to cover the damage rather than having the drywall removed. Thanks for all the content!
I just did our powder room. We bought the zebra peel and stick from target and it was extremely forgiving – I had to reposition many times. Your tip on sanding is good. I didn’t even think about it but wish I would have because some imperfections poke out. A few tips I got from YouTube.
1. Re: the stretching problem, use a blow dryer on a low heat setting. It will kinda shrink the wallpaper back into shape. Of course test on a small section. This saved me a few times.
2. If you’re in an area with humidity and your walls expand and shrink throughout the year, you must cut in the corners and need to slightly overlap the pieces in the corners to prevent gaps part of the year. Also your corners probably aren’t square so wrapping wouldn’t work.
3. If you’re using a darker colored wallpaper, you need to be conscious of what panel is overlapping because you will see the tiny line of white from the sheet that is on top of the other. So the overlap should be going towards corners / in the same direction of a persons line of sight.
Overall it was fun! Would highly encourage everyone to go bold with their powder room or office! And agreed that you notice your flaws more than anyone else will.
Thank you for sharing your pointers! Also, I really wish I would have known about the blow dryer thing…that part was pretty frustrating.