
Small Bedroom Design: Our Awkward Addition (Part 1)
It’s been about a year and a half since we finished our big remodel and addition. You know, the one where we turned my three-bedroom, 1,700 square foot house into a seven-bedroom, 2,400 square foot house. And if you’ve been around since then, you probably remember me posting construction updates here and there. And then… nothing. No follow-up. No room reveals. Just me disappearing like it never happened.
Yeah…my bad. Life has this way of just… moving. One minute you’re in the thick of framing and drywall, and the next thing you know, the bedrooms are full, kids are settled, and you’re knee-deep in the next season of chaos.
Additionally, the four bedrooms included in this project are now occupied by teenagers. And teenagers deserve privacy…because nobody wants their messy room and questionable design choices immortalized online. (Except me, apparently, because my teenage bedroom disaster is still sitting on this blog. If you’d like proof, you can read it HERE.)
If you’re new here (or just want a refresher), you can read the full story of why we decided to add on in the first place HERE. And if you want to go way back, you can even peek at my original house plans HERE, back when this was a house just for me and mine.
The bedroom we are going to dive into today though, this one recently gave me a window of opportunity. It started out as my stepson’s room, then when he moved out to go to trade school, it became my oldest son’s room for a year. Then my stepson moved back in, and we rearranged the kids again. This meant, that for about 24 hours in between all the shuffling, the room was empty. So I grabbed my cleaning supplies, some touch-up paint, and my camera and thought, “THIS IS MY CHANCE.”
And that’s how we’re here, finally talking about this space. Instead of trying to cram everything into one giant post (that I’d never finish, let’s be real), I’m breaking it up into a little three-part series:
- Part One (today) – the actual physical build of this room: the floor plan, the weird limitations we had to work around, and the construction process up until paint.
- Part Two – a deep dive into the paint color. Because when a color is this good, it deserves its own spotlight.
- Part Three – the big reveal, with all the details and sources pulled together.
Floor Plan and Exterior Before
Let me just start by saying that designing this addition was NOT straightforward. The roofline dictated almost everything. The plumbing had its own opinions. Plus there is the small matter of our lot only being so big (and on a slope). We sketched version after version after version of this thing, and honestly, they were all a little weird. Which…I didn’t hate. I’ve always believed that limitations are where the best design happens. Endless space and endless budget sound nice, but they also make it too easy to second-guess yourself. With hard limits you have to get creative, and max out the potential of what you’ve been given. And that’s how you end up with spaces that feel truly unique.
ANYWAY, back to the nitty-gritty. I know things are easier to understand in black and white, here’s the floor plan. You can see the original footprint of the house, the layout of the garage conversion and addition, and the bedroom we are talking about.

To really show you what our roofline problem is all about, let’s back up for a second and look at the outside of the house right before construction started. Here’s where this bedroom lives now, tucked onto the back corner of the house in what used to be dead space/weed garden.


Bedroom Framing: Ridiculous & Full of Potential
Anyway, lets jump ahead to a ripped open house, a foundation, and framing.
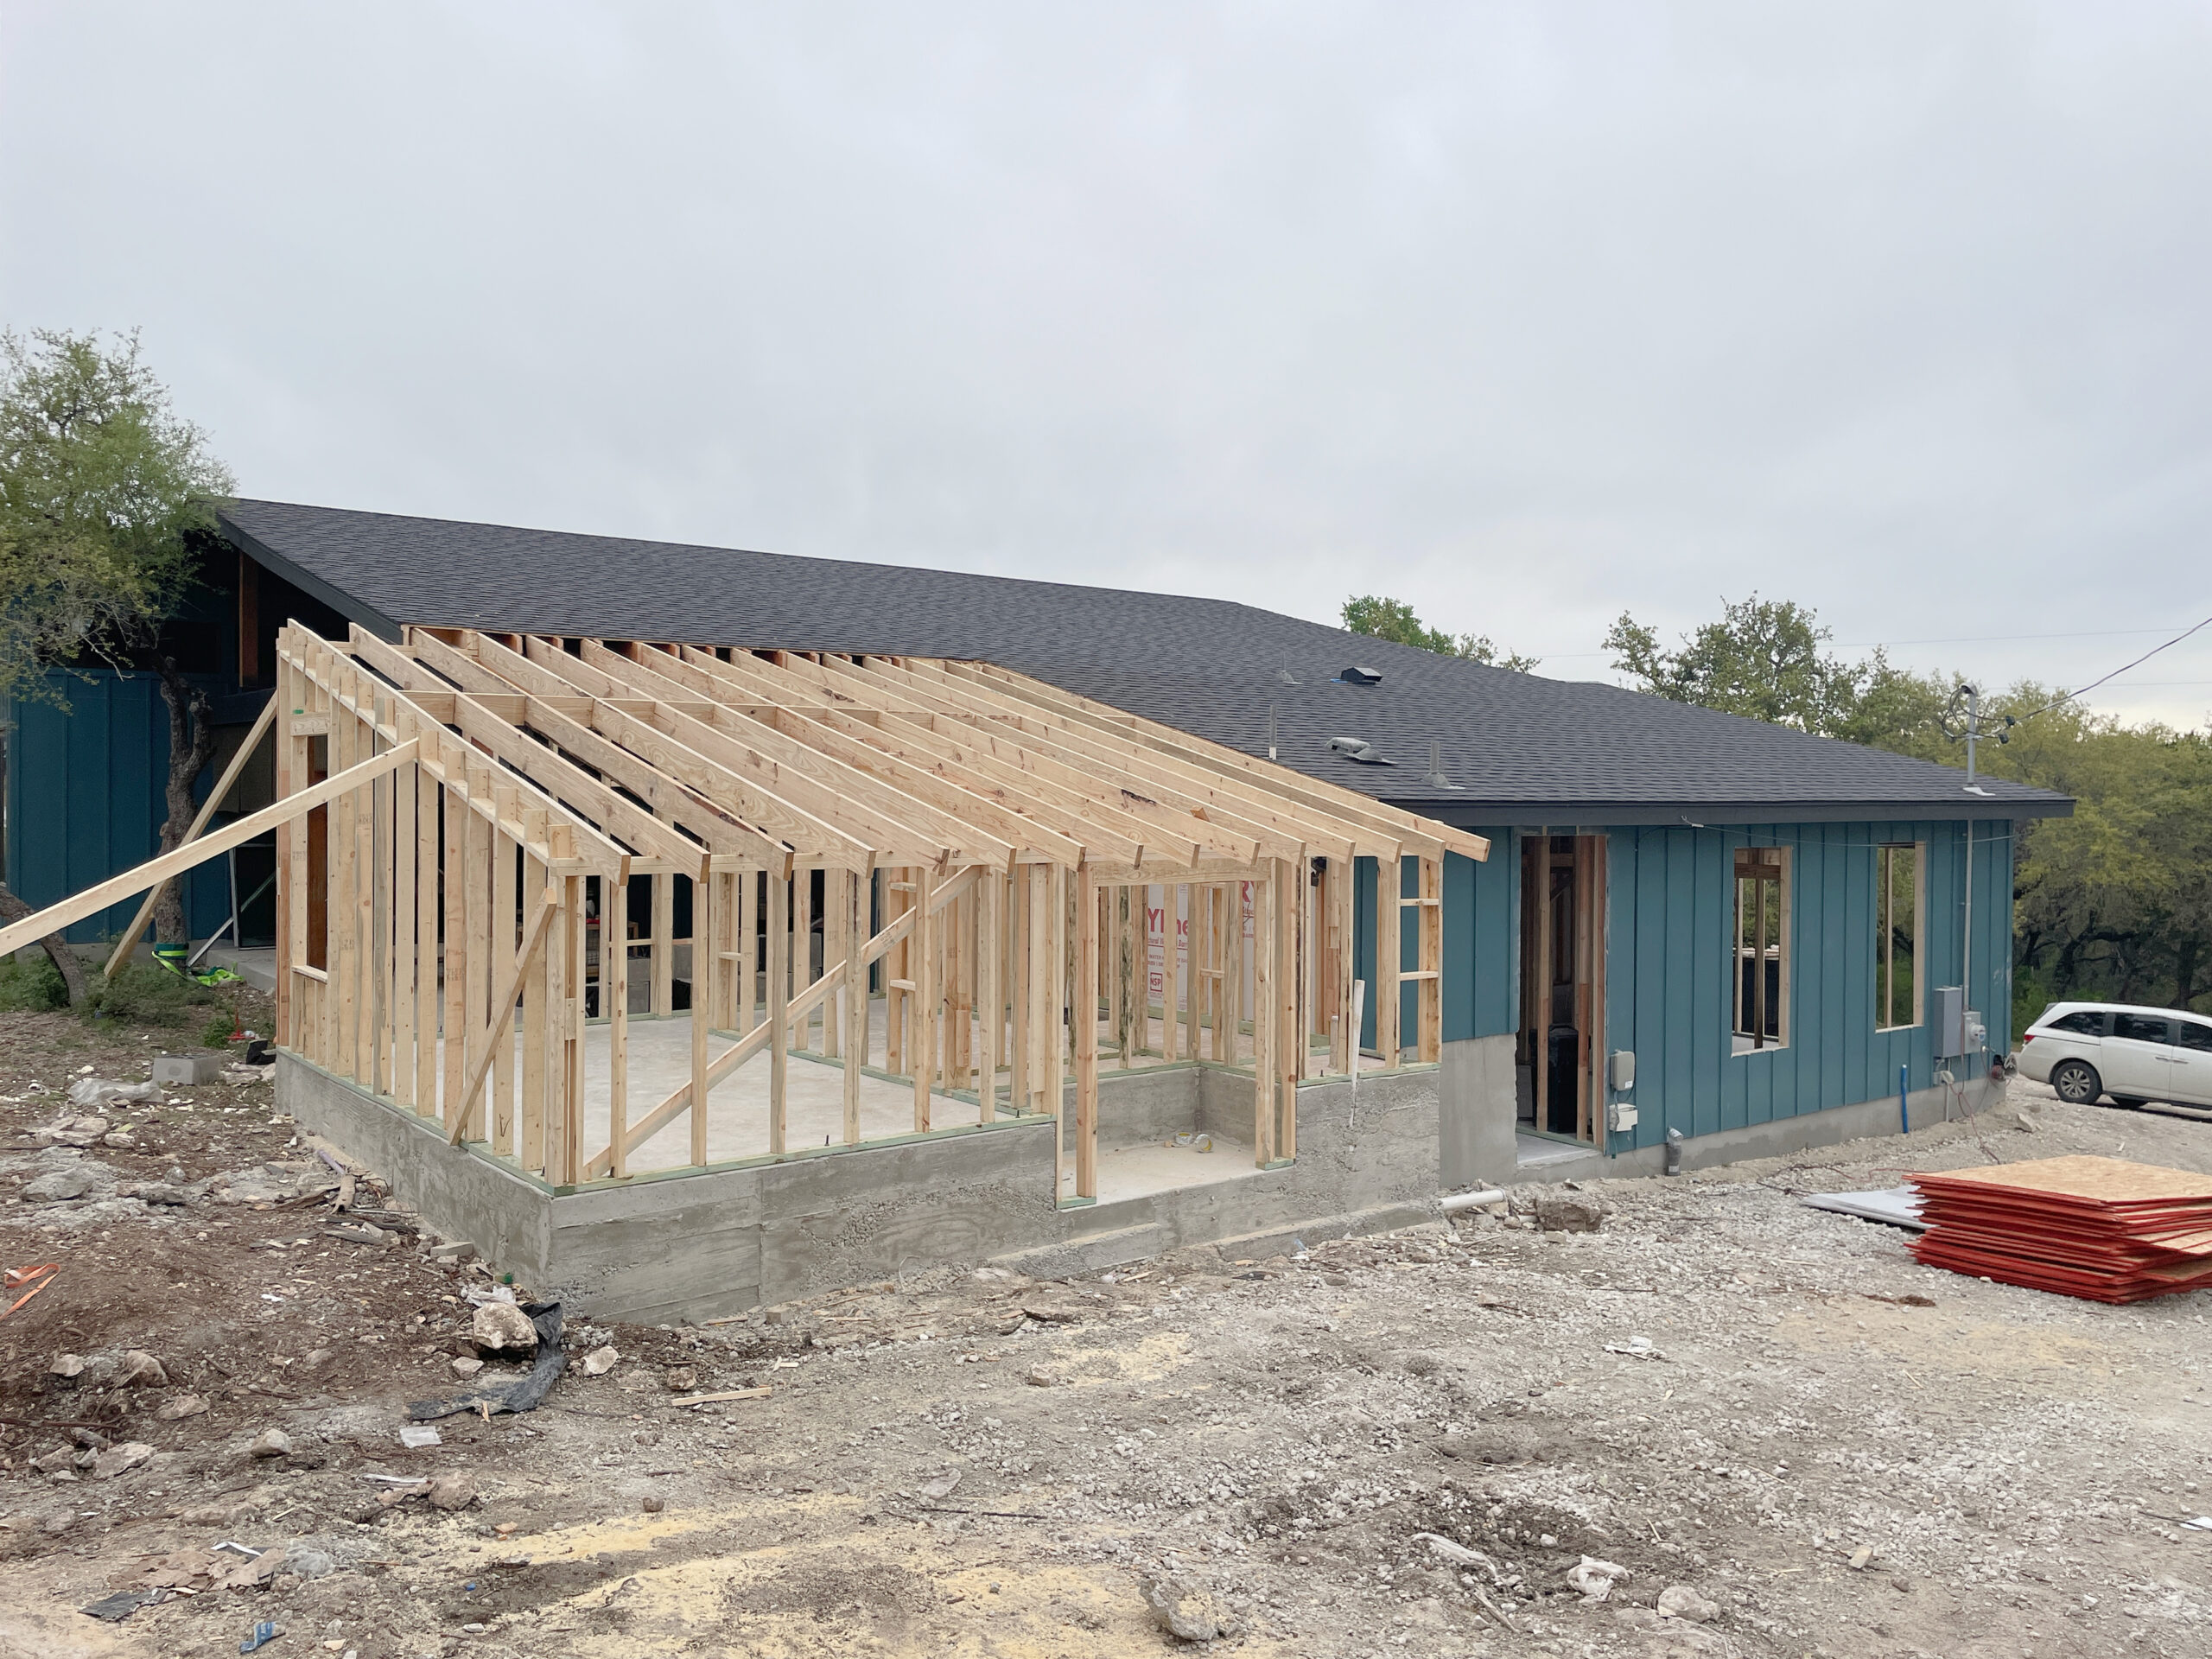
I’ll be honest, the first time I saw it framed up, it looked ridiculous. I felt ridiculous for even doing this project. I mean, you could stand next to the house and have the roof hit you in the shoulder. I’m sure the neighbors drove by and wondered what in the fresh hell was going on over here.

But here’s the thing. Inside, it wasn’t just weird, it was weird with potential. Like the space itself was side-eyeing me, daring me to turn it into something that felt intentional. And honestly? That’s my favorite game to play.

Making a Short, Squatty Bedroom Actually Work
So what do you do with a short, squatty, small room where half of it isn’t even standable? You don’t fight it. You don’t waste energy trying to trick it into feeling open and airy. It’s never going to be a soaring-ceiling, grand kind of space. Instead, you lean in. You let it be what it wants to be. And what it wanted to be was cozy.
And what’s the coziest thing I could think of? A bed nook. I love bed nooks. The built-in, tucked-away, cocoon kind of space where you just want to pile in with blankets and snacks and never leave.

Plus, we had an extra king mattress lying around from when Beau and I combined households. With a king-size mattress, not only would the bed come out far enough that you probably won’t hit your head on the ceiling climbing in, but it could be a comfortable guest space for friends and family when needed.


Once the bed frame was in, the drywall was up, and the floors were in, it was time for the trim carpenters to come. (Side note: The floors were actually supposed to be sealed concrete like the rest of the house, but that didn’t pan out. We ended up with LVP instead. That’s a whole other story for another day.)
What I didn’t want was the bed to feel like it was shoved into a sad drywall box. I wanted it to have a little architectural detail – paneling on the walls, shelves tucked into the side, built-in lighting. Something that looked like it was meant to be there, not an afterthought.
The only problem? This whole remodel/addition was happening at lightning speed. My husband was doing a bang-up job of keeping things moving, because the ten of us were living on top of each other and we needed to not be. But also, the speed was stressful. I’m a slow-decorator…I like to DIY, tweak, and overthink ideas until they feel right. But this wasn’t that. This was “make a decision now, because they’re showing up at 7 am with tools” energy.
So one night Beau and I were running through the plan for the trim carpenters the next day. He mentioned the shelves, and I said, “And the paneling.” He looked at me and said, “What paneling?” I said, “The paneling. You know, the personality. The detail. The texture.” And he goes, “I don’t think we have time for that.” And I was like, “Oh, but we do.”
So off we went to Home Depot, grabbed some paneling (thankfully, they had the one I wanted in stock), and had it stacked in the garage ready for the crew in the morning. Crisis averted.

This is the part where I wish I had more photos, but all I have are blurry screenshots from Instagram Stories. Honestly though, that feels more accurate to the process: messy, fast, and a bit of a blur.

So that’s where we’re leaving it today, with a dusty little white box of a room. But don’t worry, it’s about to get a glow up. In part 2, we’re talking paint. Not just any paint, but the kind thats so good it makes you forget you were ever side-eyeing the roofline. Here’s a sneak peek –

Looks great so far, looking forward to the rest of the series! Do you have a link to the LVP flooring that you went with? I like the wood look but it is hard to find LVP that has the same warm tones as real wood.
I do! LINK