
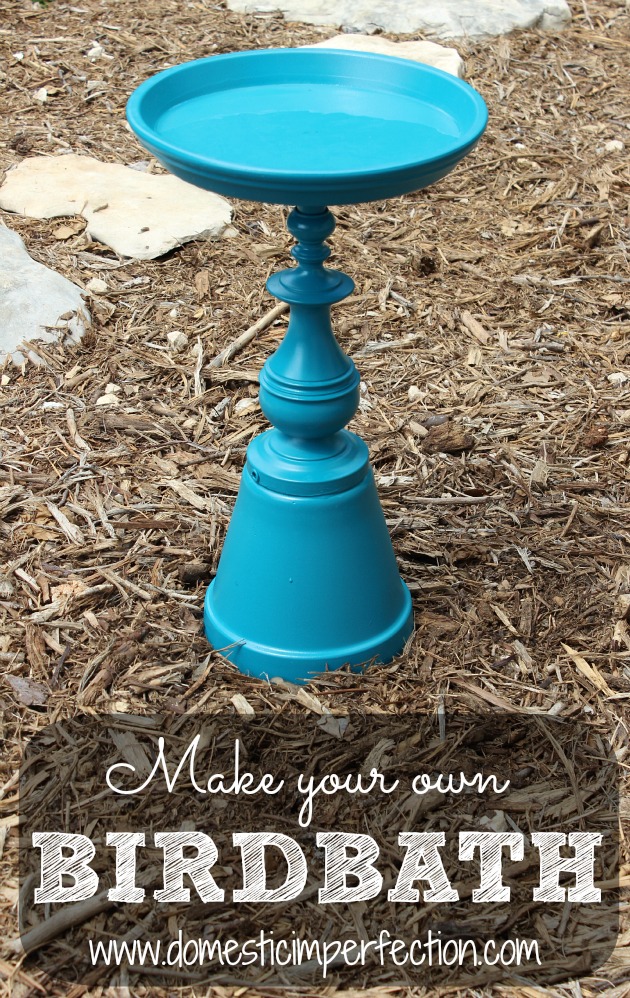
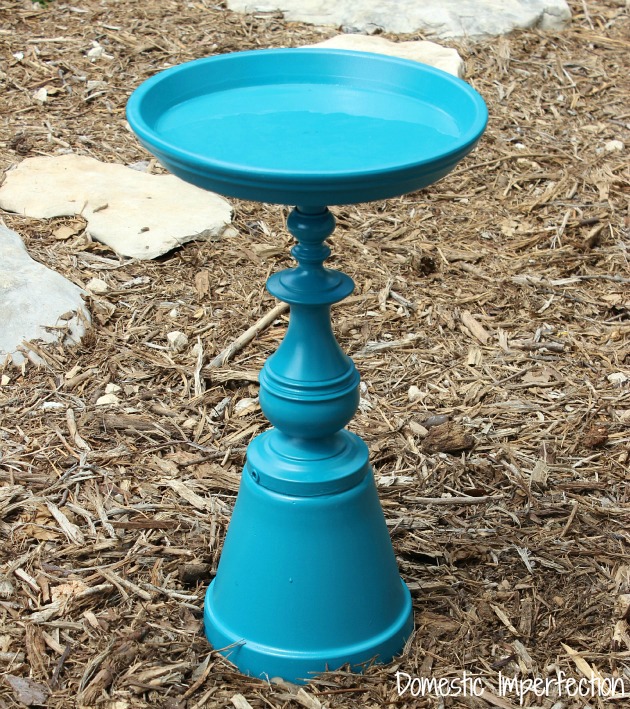
Make Your Own Birdbath
This project is an easy one, though it still started off as a DIY fail. So the first part of this post will be the perfect sparkling tutorial on how to make your own birdbath…then I’ll let you know what NOT to do.
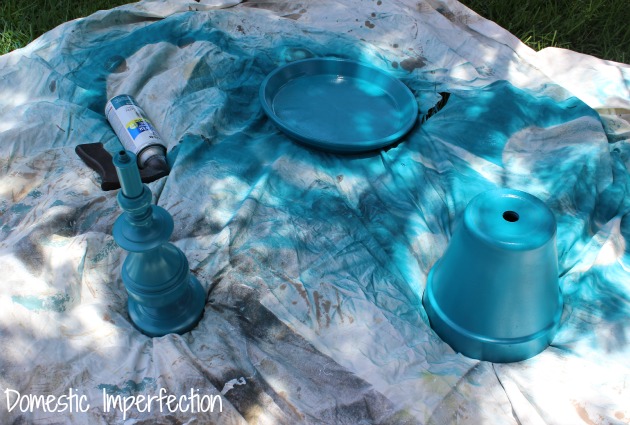
I made my birdbath out of a terracotta pot, saucer, and an old brass lamp…but you can really use anything. Go crazy. The motto here is “if you can glue it, you can do it.” I literally JUST came it with that.

First I cut the cord on the lamp base and pulled all the extras off.

Then I gave everything a coat of spray paint…this is “lagoon” by Rust-Oleum.
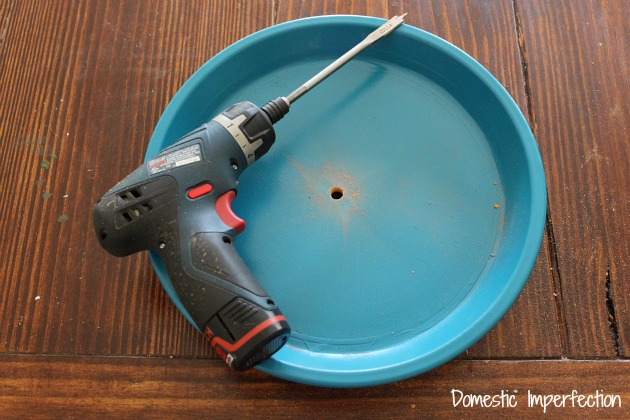
Next, find the center of your saucer and drill through using a small paddle bit. You might want to do some math for this…I just guesstimated and admittedly mine sits a little crooked.
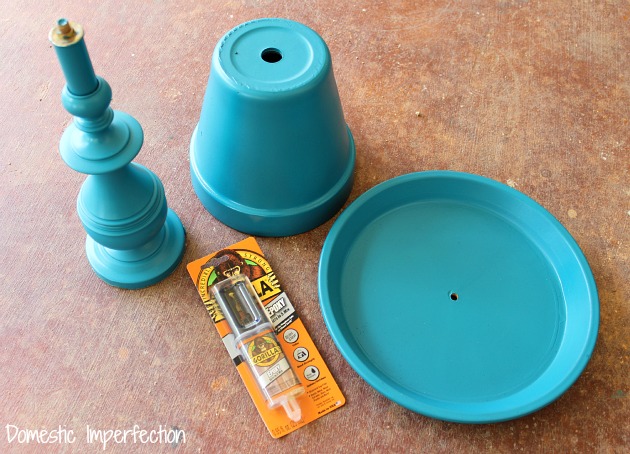
Then comes the glue. I ended up using epoxy by Gorilla Glue and it worked great. If you look closely you see a little knob on the top of the lamp base…that is why I drilled a hole in the saucer.
While it was drying it gave it another quick coat of spray paint to fill in the seams, and followed that with a coat of spray polyurethane.

And that’s it…a simple, colorful, DIY birdbath! IF you do it correctly, that is.
Here are a couple of things you probably should NOT do…
1) Don’t try the poured paint pot technique, decide you hate it, and try to paint over it before it’s 100% dry.
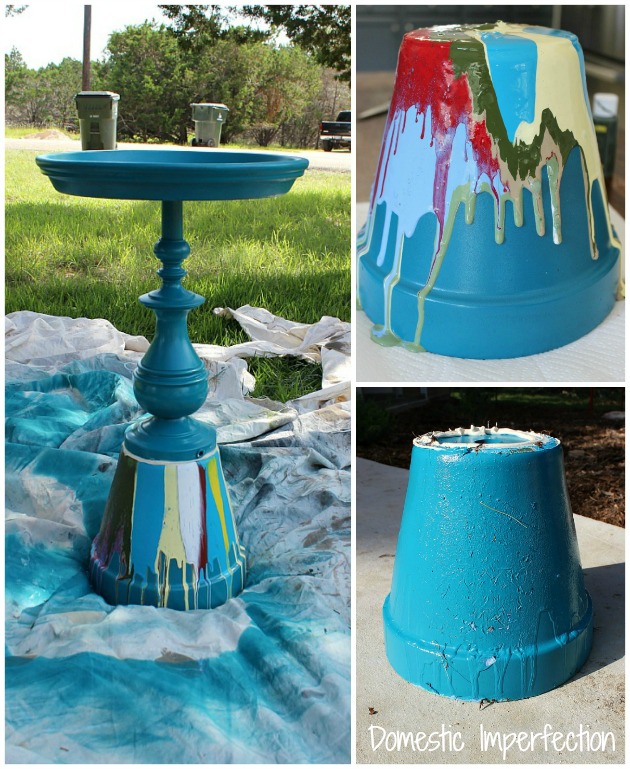
2) Do not use crappy glue, because even after 24 hours of drying your birdbath WILL fall apart.
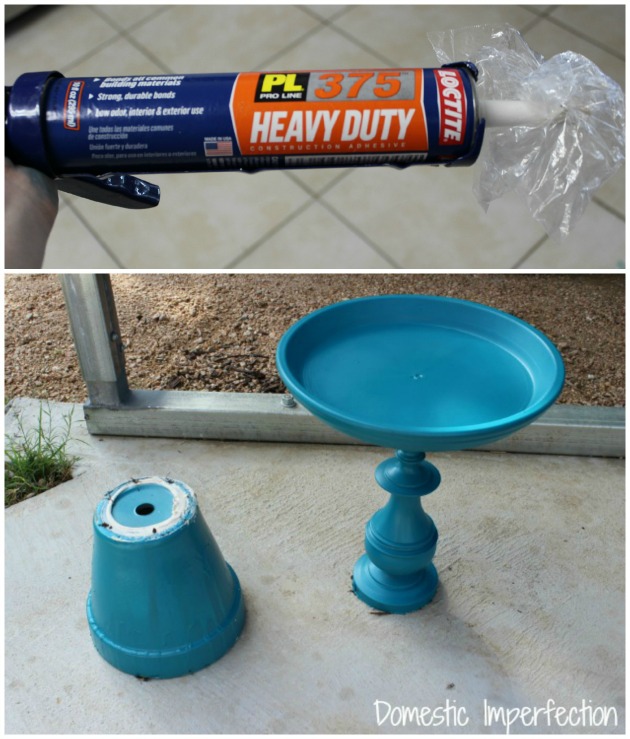
Now, you would think construction adhesive would pretty much be the best thing ever. After all, it says right on the tube that it bonds wood, metal, brick, concrete….according to the package you should be able to glue a house to an airplane. And it bonds in 10 minutes! Woohoo!
NO.
Construction adhesive sucks. I have tried to use it multiple times and I don’t know why I keep trying. I would have better luck using white paint to glue my projects together. I can’t be the only one.
So that’s my tutorial and anti-tutorial. Total cost for this project (if you choose to use the same materials and do it right the first time) is about $15. Not too shabby.
On a sidenote, Adam and I spent way too long debating on whether birdbath is one word or two. I say one, he says two, google says both. What do you think?
I love all the birds in my yard and would love to try out this project, however my question is, is the paint ok for birds and other animals that may drink out of this?
I actually didn’t even think about that. I would hope so, I used polyurathane…same as I did on our dining room table.
I just did a search on food safety using polyurethane and here is a link for reference. The polyurethane needs to be fully cured before using for food (water). Suggestion is for 30 days.
Oh my gosh, so many people on here not considering the toxicity of the paint and glue they’re using for this type of project? Please people ….research before you start killing the birds, squirrels and bees. Skip the paint altogether …keep it natural. Consider using aquarium-safe or food-safe glue options. If it does not say food safe or aquarium safe …you are guaranteed toxicity. ie: “E6000 contains chemicals that can be harmful to birds, especially if ingested, nibbled on, or if they inhale fumes.” That’s just one example. PLEASE be more mindful before you spread posts like this being all cutesy & DIY ….at the expense of your trusting wildlife.
You can purchase a box or two of bird sand to line the botton of the feeder. The birds eat a little of this in their diet anyway to help digest the seed. Both our canaries and our parakeets needed it in their cages. It will keep the seed from absorbing any of the chemicals in the paint when used as a feeder. A daily change of water will help keep the birdbath clean, avoid attracting mosquito’s and prevent too much contamination of the water from the polyurethane or the paint used. Ours is right outside our sunporch in a flower bed and I rigged up a battery operated pump and didn’t plug the hole in the saucer so that the water would continuously recycle. refill it daily in our Southern California area and just let it recycle til sunset. The birds love it! So does the squirrel that lives in our avocado tree!
Hey Ashley, Nice birdbath! Gary and I think the word is one, a compound word as is sawmill and chainsaw….. Anyways, You have been nominated for the Super Sweet Award!!!
I will sit on the fence and say I think it “looks” right as one word, but I’m sure using two would work just fine. And your birdbath turned out super cute! Good to know about the type of glue to use. I’ve bought many glues that don’t do what they claim. I don’t know if any of them were construction glue: probably. Whenever I do get serious and get a two-part epoxy, however, it always seems to do its job right! Note to self…
I make all kinds of garden art and found E600 (found most anywhere) works the best! And learning to glue things in “stages”, letting them cure correctly and then putting all parts together works the best!! And paying attention to gravity which dictates the way the adhesive will set up as it cures. A lot of my things are in upside postions while curing so when cured the pieces are bonded the best way possible for any shapes and angles they may have!
Ashley, birdbath is one word….compound word. But that’s my vote And it seldom counts for much! LOL
On the poured paint I’m not a fan, but I could see how someone would totally love it.
Also, does the paint hold up to being painted and then having the water on it? I’m interested in that. This would be a great Mother’s Day gift for my mother in-law. She loves her birds, and can’t really afford anything too expensive. This I think I could easily do.
I think your vote counts a ton…after all, you’re agreeing with me!
I’m pretty sure the paint will hold up great since it’s coated in polyurethane. I’ve never had problems with poly (besides turning yellow, but that only really matters on white.)
I always thought of it this way: A bird takes a bath in a birdbath
Birdbath is one word, a noun. It describes what you’ve built here.
Bird bath, two words, is a noun followed by a verb. This is describing what a bird might do with your birdbath.
If you want to use more than one word to describe this device, you should call it a ‘bird bathing apparatus’.
That makes perfect sense…now to show this comment to my husband. Thanks!
Wikipedia dictionary says ‘bird bath’, but yet says ‘birdwatching’. (which btw just got underlined by my spellcheck) , so I’d say it’s a tie! ;)
Love this! I’m going to try it this weekend, most likely. Quick question — did you end up using the Gorilla Glue? How did it hold up?
Yes, the two part epoxy by gorilla glue and it is awesome!
Hi, just curious….did you use anything to fill in the hole on top? In the final picture it looks filled but hard to tell. That is such a creative idea!
I used caulk to fill the hole in the little lamp knob thing (technical term), then I filled in the gaps with the epoxy glue and spray painted over the whole thing.
Fabulous, I love it!! The issue of the glue not working is possibly trying to glue to painted surfaces together. Try not painting what will be glued on your next project and see if that helps.
That would be TWO painted surfaces!
Hi Ashley
love your first name, my grandaughter is an Ashley too, ; )……I just love your project, I will do that this winter, so that it is ready for next summer, I will be carefull for the brand of paint I use, so that birds can come and eat….thank you, very much, and I will Watch your next post….have a nice day
I LOVE this idea! Your bird bath looks great! I am a recent yard sale enthusiast. I have always loved vintage and the prices at yard sales are crazy! I have never re purposed anything but your idea is great. I’ll have to give it a try!
I love this and it’s totally cute. But I would suggest that anyone who does this does NOT paint the saucer. Especially with spray paint it is NOT safe for any living thing to bathe or eat/drink from.
Love this idea. I think it might also make a cute fountain. A slightly deeper saucer, one more terrain cotta pot, some rocks and a pump with a bubble attachment. Voila! Birdbath (one word) fountain.
What size saucer is this? I bought a 12 in one and i have a tall candle stick i am using instead of a lamp base. I seems like my saucer is too small when I stack them all up. Suggestions??
visiting from show and tell linky…cool idea! I have never thought to use the lamp as the center pole! But I have used the terra cotta to make a water fountain, where you stack the pots… and if I could add a little something…get a water resisant clear coat…forget the name but you paint it on where ever you are going to have water sitting…in this case the top bowl. If not, the water will eventually seep through the paint and the terra cotta. It is pretty cheap…hardware store or “Lowes” has it. I painted the inside of 2 large pots and 3 smaller ones and a tray with it and still had some left and water never seeped out on my fountains. I think I’ll chek the thrift store for a lamp and make one of yours! Maybe use it for a bird feeder too!
Cheri
http://www.fabricandmemories.blogspot.com
I make birdbaths a lot. But I use thrift store glass plates and bowls. A dollar or two apiece…..not very expensive .. I also use E6000 glue from Walmart. Works perfectively..and I think birdbath is one word too. But really…who cares. Lol.
Thank you for the tutorial and anti tutorial. I like that added info!
A suggestion or what I would like to have seen is the the water in there and where you would place the birdbath at your home to give the final “hurray we did it!” Look.
Thanks again for all the info :) I will definitely try this.
Thanks for the heads up on the glue, lol I have tried the same and I will never use the Oh it glues everything stuff again. My last fail ended up with a trip to home Depot 5 minutes before the party fixing the project that looked like the leaning tower of Pisa.
I love this idea! Could you please tell me what size pot and saucer you used in your project?
Thanks so much!
I would like details on the size terra cotta pot and saucer you used in this project. Thanks!
Off to find Gorilla Glue. E6000 didn’t work at all, even after I let it sit all night.
Thank you for sharing how you made this and what you used to paint and glue it.
Did you use a sealer of any kind to make it safe for the birds or anything else to drink the water from an unsealed painted container?
or to bathe in the water and it not harm them?
Love the idea! And I vote birdbath is 1 word. ????
I made several years ago & loved them, so easy & cheap to assemble. Ended up giving them away when I moved, now wanting new colors , thanks for posting.
Is the paint non-toxic for the birds to drink water from the birdbath?
Did you check to see if the paint you used is ok after water is on it in the sun and is still good for birds or is this just for decoration? I would hate for birds to get sick from something I made!
It’s amazing. Thx for sharing how to make it. I definitely going to copy this. Greetings from Holland