
How to Decoupage on Wood (or anything!)
Last updated May 9, 2023
Decoupage is a fantastic technique that can transform any surface into a unique and beautiful piece of art. Whether you’re a seasoned crafter or a beginner looking for a new creative outlet, decoupage is an excellent way to unleash your creativity and add some personality to your home. In this post, we’ll walk you through the step-by-step process of decoupaging on wood, including all the materials and techniques you’ll need to create your own beautiful decoupage project. So, let’s get started!
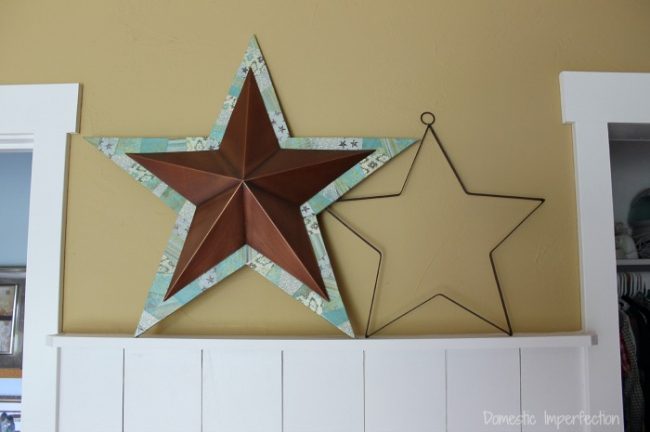
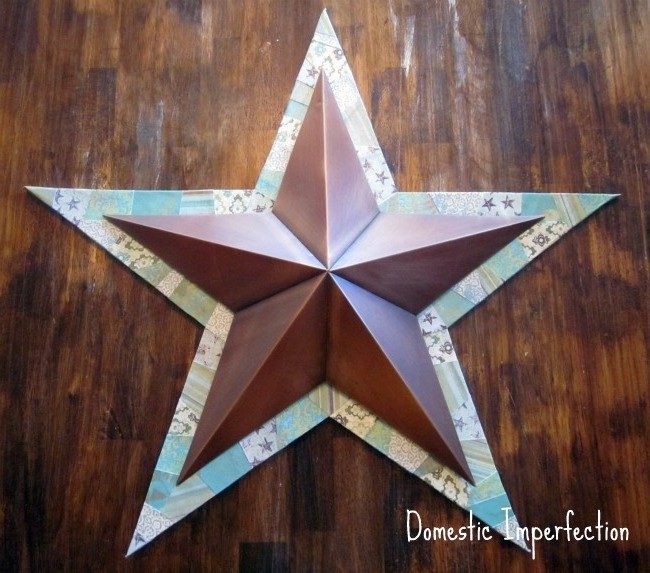
For this project I wanted to beef up a copper star for my sons cowboy bedroom, so I added a mix of decoupaged scrap paper on a wooden backer.
How to Decoupage
Supplies
Prep Your Surface
This will look different depending on what you are decoupaging. If you are decoupaging and item that is ready to go (like a picture frame or canvas) you will just need to make sure your surface is clean and dry.
For my decoupage project I wanted to cut a large star out of plywood. To do this I traced my copper star, making the wooden star slightly bigger. A ruler would be great for this, but I couldn’t find one and used a college DVD set instead. If it works, it works.


Then I cut out the star using a jigsaw. If you’ve never used power tools before, I promise you can do this. A Jigsaw is a great tool to start with.

Step Two – Create Your Masterpiece
Here comes the fun part, adding your scrapbook paper to your surface! For this you will want to grab your decoupage glue, a craft brush, scrapbook paper, and some trashy TV.

Note: Decoupage is very versatile, and you can use whatever material you want. For this post I used scrapbook paper pieces, but I have also used fabric and even buttons!
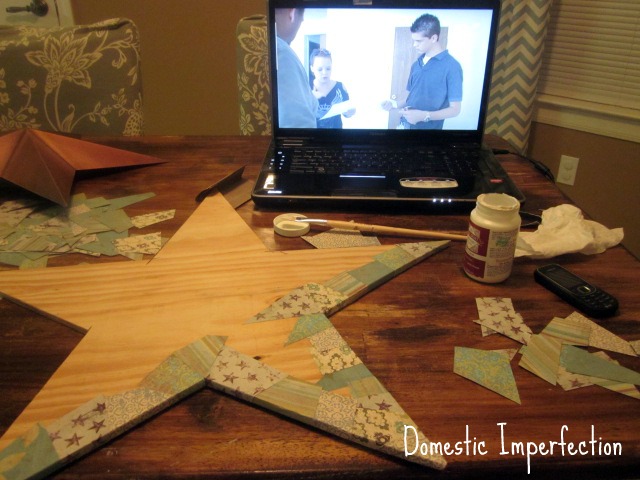
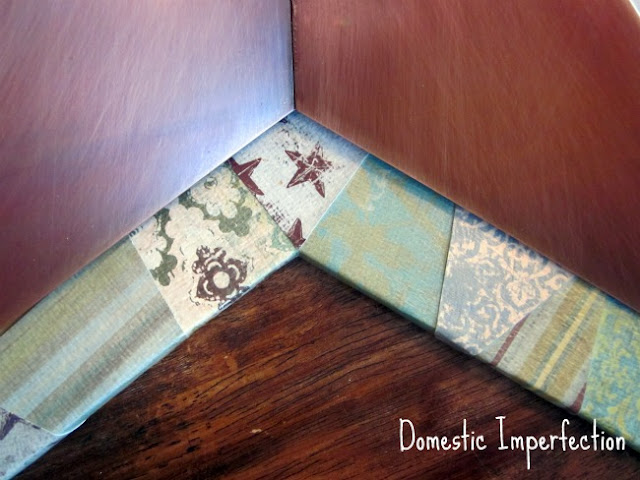
I choose to cut my paper into random shapes using scissors, but tearing them into pieces would be a great look as well!
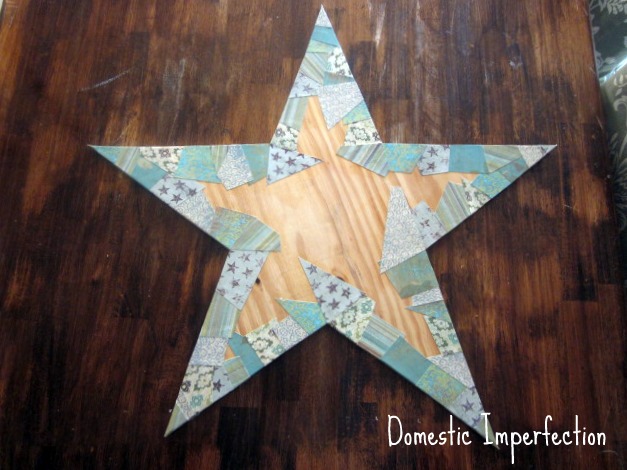
How to apply decoupage
- Dip your craft brush into the decoupage glue and brush it onto the back of your your scrapbook paper piece.
- Press the piece onto your surface, making sure there are no bubbles and the edges are flat.
- Repeat until your surface is covered.
- When you are finished applying your pieces, apply a think layer of decoupage glue over the entire surface.
- Let dry. It doesn’t take long to fully dry, 20 minutes or so.
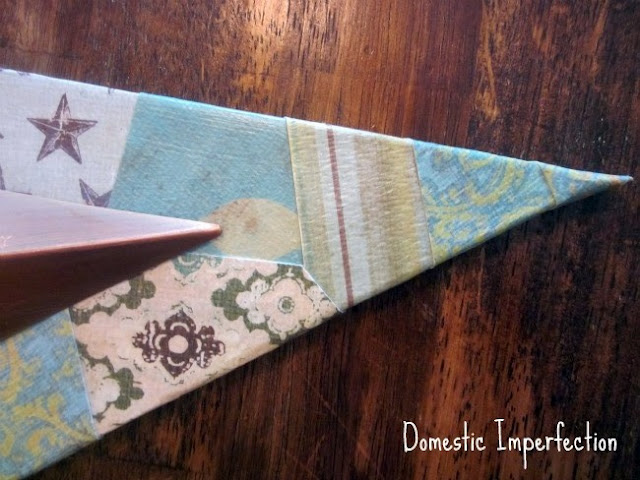
This really is an easy and fun project…the hardest part of my star was folding the points juuuust right so that they didn’t look all jacked up.
Here is my finished star on my boys bedroom, I think it turned out really well!
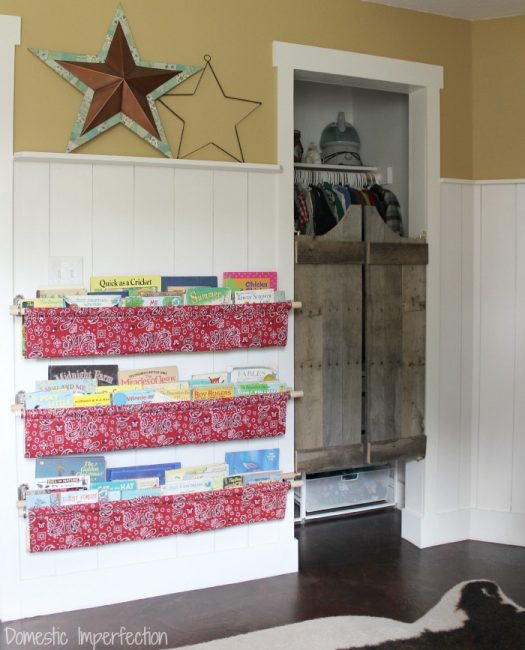
Want to see the full bedroom? Click the link below!
As you can see, decoupage is an easy craft that anyone can learn. It requires only a few simple materials and a bit of patience.
I like how the edges of your star coordinate with the room…lovely!
Very cute. I love it. It adds so much to the room.
Rachel
adventuresofadiymom.blogspot.com
Beautifully done! Layering the two stars was a smart move and clever. Love the subtle colors with the copper star.
Neat idea, I like the layering and it's fun to visit your blog.
I love it, nice twist to make it “yours”!
I LOVE this! I would love if you would share this at the Crazy Cute link party happening at Between U & Me! I've got a totally awesome giveaway this week, too! :D
http://www.betweenuandme.com
It's awesome! I would love for you to link up to “It’s a Party” going on right now!
http://www.acreativeprincess.blogspot.com
I like the contrast between the paper back and the copper star. You did a great job!
I love the name Levi…that was almost my sons name but we ended up naming him after his grandfathers! I also love the star theme in the nursery, I wish I did more DIYs when I was setting up our nursery…it would be so different!
Super cute! Layering the stars add so much! So glad you linked up with us at Show & Share!
Marie
mylilpinkpocket.blogspot.com
wow this is awesome!!!! I LOVE IT:)
Such a creative idea with the star, not one that i would have ever come up with!
Congrats on the baby!
Oh yeah, and I am your newest follower. :)
I just love the extra step you did to the traditional barn star! Great job!
I featured your star on this week's Terrific Under Ten!
http://athomewithk.blogspot.com/2011/11/terrific-under-ten-tuesday-37.html
That is just to cute. Thanks for sharing.
Love how you layered it on the wood. It turned out so dang cute! I am featuring it today at Creations by Kara.
http://www.creationsbykara.com/2011/11/look-what-i-made-linky-party-11-9-2011.html
I have a star just like that in my living and I was thinking about replacing it with something else, but maybe I will have to try something similar to this. Thanks for sharing with us!
I love it! Now to find a big copper star for only $3…
It is fabulous! You are a busy lady with two at that age and still finding time to blog.
Very impressive- both the star and your ability to make it with little ones calling for you too. It's really cute.
I really liked your article. cardiovascular
Super cute. I love your ideas!